


Curious how creators make their own font? I was too and I decided to test it out! I went through the process, learned some helpful tips, and ready to dive in step-by-step with you! It’s a fun way to add some serious personality to your designs, printables, and anything you’re typing up…or even to sell on Etsy or Teachers Pay Teachers!
Below, I’ll guide you through the process of making a font with your own handwriting from start to finish. If you prefer online design, you can follow similar steps below, but use your favorite programs like Procreate, Adobe, Photoshop, or other design apps. This will allow you to make a bigger variety of fonts in a wider range of styles (San Serif, Monospace, decorative, script, etc).
For newbs, handwriting font and Calligraphr are a GREAT place to start. We’re gonna ditch the tech jargon and focus on the fun stuff. Let me know how this works for you!
FIRST THINGS, FIRST- What you need to get started:
- the calligraphr.com template (read further for instructions on how to make one, or you can snag mine linked below)
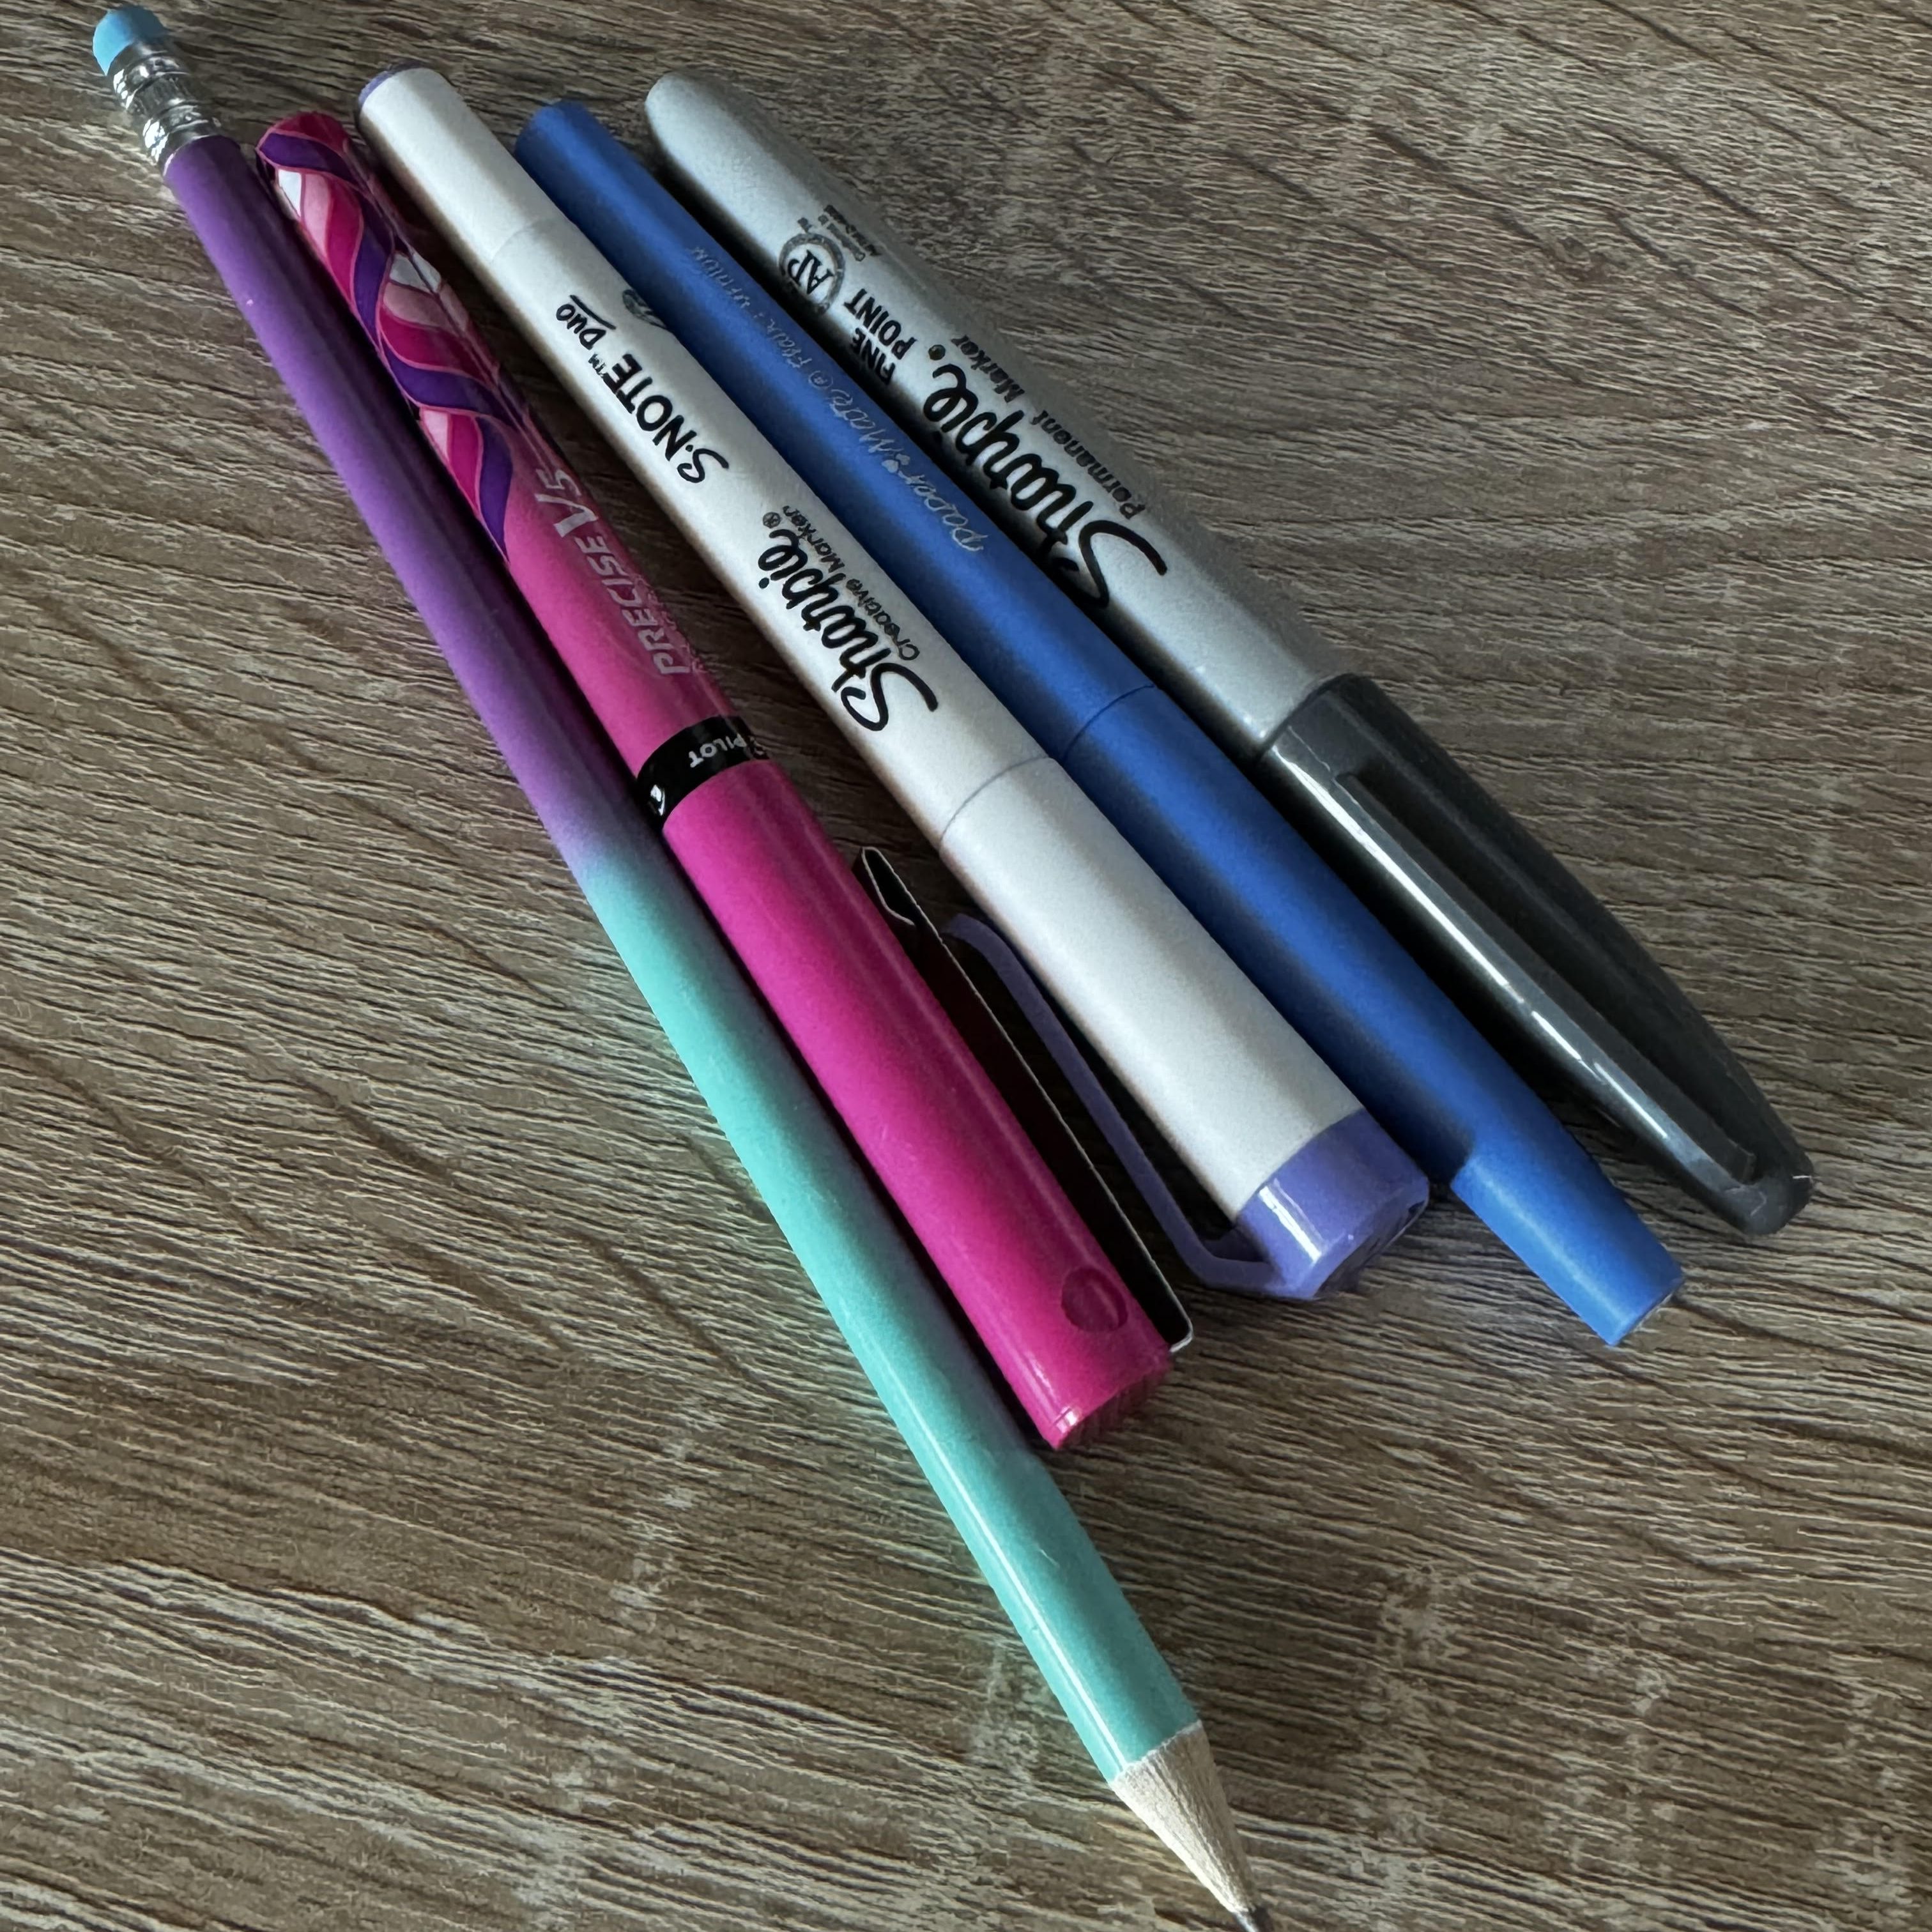
- Writing utensil of choice: what are you comfortable with? What thickness do you want? What look are you going for? My favorites to use are a Papermate Flair pen or a Sharpie S-Note Duo marker.
- A phone, tablet, or scanner (+ your computer, of course)
- PATIENCE
Finding Your Font’s Flair:
Before you dive headfirst into font making, get those creative juices flowing. Are you picturing a playful hand-lettered vibe, decorative and fancy, or a sleek, modern look? Inspiration is everywhere – browse online libraries, stalk Pinterest, or doodle on scratch paper.
Use a font building website:

Simple is best when learning to create fonts! Calligraphr.com will be your new BFF in the world of font creation. Here’s the step-by-step process:
- Head over to Calligraphr.com and sign up for a free account. There is also a paid pro version for $8/mo that gives you waaayyy more options, like: up to 600 characters per font (up to 75 with free version), ability to save 20 fonts at a time, more storage, back up data, variety of spacing options, ligatures, etc. I’d play around and get the hang of it before investing in the pro version.
- Pick your canvas. Blank canvas for the free spirit, pre-made template for a jumpstart – you do you! I found it way easier to use the templates, especially with grayed out letters in the background. When I didn’t, a lot of my letters were cut off after uploading and honestly, it was just trickier overall for me.
- How to create a template: Go to TEMPLATES on the top left hand side on the purple header menu. On the left side you can choose your letters/characters. I chose- Basics: Minimal English, Minimal Numbers, & Minimal Punctuation. Note: the free version only lets you have 75 characters. For my selections, I have to delete a few characters. You can have as many as you’d like on the paid version. After picking your characters, press Download Template on top left. A menu will pop up. Choose your file option and template options. For beginners, and just for my perfectionism, I recommend having the ‘helplines’ and ‘characters as background’ boxes checked. SO HELPFUL, just trust me. Then download and print your template to use!
Template Taming Tips:
- Pre-made Magic: Calligraphr offers a variety of pre-made templates that include basic letterforms and handy guidelines. These are a great starting point, especially if you’re new to font design. I HIGHLY recommend using their templates.
- Size it Up: The templates come with guides to help you size your letters consistently. Pay attention to the ascenders (tall letters like b, d, h) and descenders (letters that hang below the line like p, q, y) to ensure everything flows nicely.
- Channel Your Inner Ruler (or Eyeball It): Use the guides to keep your letters aligned, or eyeball it for a more hand-drawn look (it’s your font, after all!).
- Not One-Size-Fits-All: Feel free to adjust the size of the template cells to fit your writing style. Bigger is better if you like bold letters, and vice versa. I found it easier to make the letter cells bigger on the template.
Make your own template, or grab the one I made below!
- Channel your inner artist! Use the template to write in your letters. Play around on scratch paper first to get an idea of what you’d like to do. Pick a writing utensil that matches with the look you’re going for (pencil, pen, marker, crayon, various thickness and tips, etc.). Don’t worry if you mess up, just cross out your letter and delete it when uploaded. I print out duplicate template pages of the ones where I messed up and remake my ‘oopsies’. You can also use your mouse or a tablet (fancy!) to write out your letters. Play with different pen settings to mimic various writing styles. Calligraphr offers a variety of pen options that let you create thin lines, thick strokes, and even textured effects. For the most professional looking fonts, open the template on your tablet and write out your letters with a design program and stylus, like Procreate.
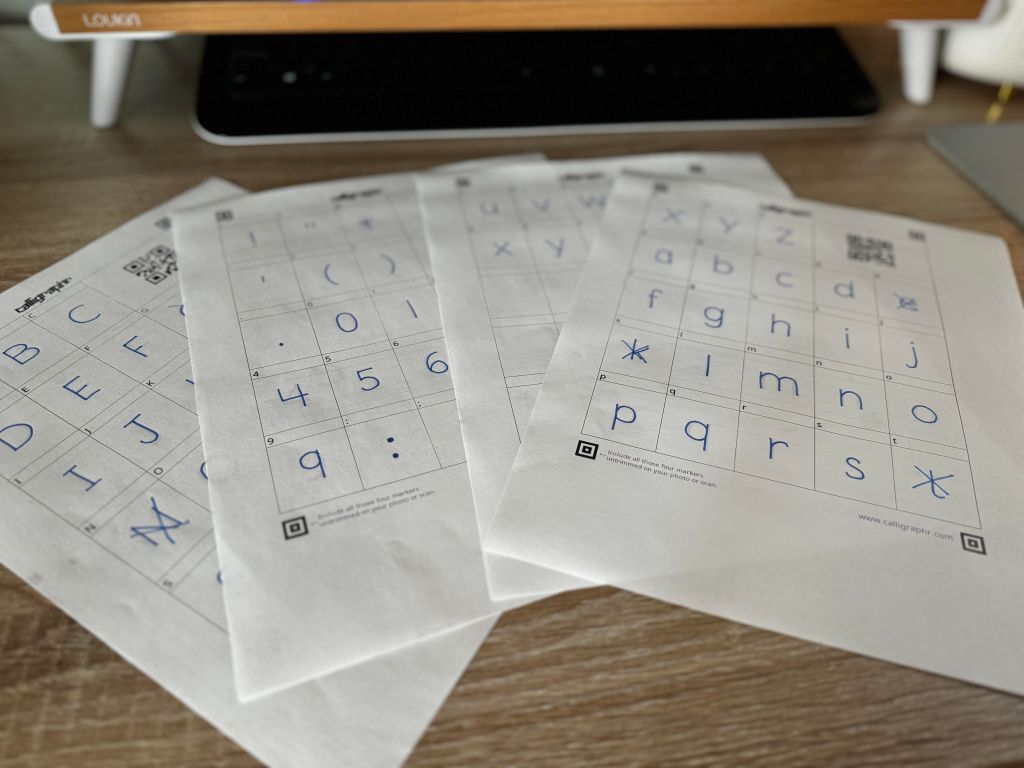
4. Upload your font design template: There are a few ways to do this. You can scan in each page and save the images, or use your phone/tablet camera and save the images to your computer (this is what I did). If you used a design program, you can just save the digital template file on your computer. Once you have the completed templates saved on your computer, click on MY FONTS in the top left purple menu. This will bring up your font building menu. Click on Upload Template in the top mid left gray menu. Find and add all of your saved template images. Press upload template and wait for Calligraphr to process your letters! Don’t forget templates that you messed up and made new letters on. Don’t worry about all the blank and crossed out letters. You can delete those and keep only the characters you want after processing.
Tweak and Refine:
5. Calligraphr lets you edit individual strokes, adjust spacing between letters, and make sure everything flows like a dream. Whenever I upload my characters, I tend to get a lot of dots and lines in the blank space. I handwrite and photograph my templates with my phone. It’s possible that with better lighting, using flash, designing digitally, or a scanner will help diminish those rogue dots and lines. Don’t worry though, it’s easy enough to remove them… just a bit time consuming.
* I recommend not over editing your letters if you’re going for the handwritten look. I spent an embarrassing amount of time trying to make my letters look perfect with the editing tool and ended up making them look WORSE.
- Edit individual letters/characters: Click on the letter you want to edit. Look for any markings in the white space and make sure you erase them! If you don’t, it will make your spacing look further between those specific letters and you’ll have random dots in your font. Look through each one carefully. You can also add to and erase parts of your letter as needed.
- Adjust size and baseline: Go to the 3 dots on the top header menu and click ‘Adjust Baseline’. There you can adjust the size and placement of each character to ensure sure they are within the guidelines and match up (unless your going for a wonky fun font). I had to fiddle with this a few times to make my letters match and look cohesive together as a font Note: I previewed my work under ‘build font’. I went back to edit as needed until I was pleased with the way it looked before downloading.
- Edit font details: Click on ‘Edit Font Details’. A menu will pop up with access to adjust letter & word spacing, and font size. Letter Spacing: Adjust how far apart you want your letters to be. I find that 20% is the sweet spot for typical font spacing, but it depends on the look your going for. You want 0% if you’re making a cursive font (cursive is very tricky with the free version to make letters fully connect). Font size: This will adjust how big your font is compared to most fonts, but will also determine how far apart your font is between space lines (when you press enter or the text flows to the next line) TIP: If you want your font to have less space between lines and have a typical font spacing, make your font size 200%- I don’t recommend going too much below that. Word Spacing: How far apart do you want each word to be in your font? I find the mid-lower end to be the best {most common} word spacing, but you do you boo.
6. Download your masterpiece! Once you’re head-over-heels in love with your creation, export it as a .TTF file so you can use it on your computer. How? Look for the button that says “Build Your Font” in the upper gray menu. Name it and click BUILD. It will show you a hefty preview of your font. You can use the sliding scale to see your font in different sizes. If you don’t like it, go back and edit before downloading. When you love it and you’re ready, choose the .TTF format at the top left. *poof* Your new font is downloaded on your computer!
Installing Your Font:
7. LAST STEP: Now you have a shiny new .TTF file, but how do you get it to work on your computer? If you’re not familiar with installing new fonts, don’t worry, it’s way easier than you think!
- Windows: Find your downloads folder (usually it’s called “Downloads”). Locate your .TTF file and double-click it. A window should pop up with a preview of your font. Click the “Install” button, and voila! Your font is ready to use in any program on your computer. If you have Word or PPT open, you’ll have to close and reopen to find your new font on the font drop down menu. This happens anytime you install a new font.
- Mac: Head over to your Finder app. In the menu bar at the top, click “Go” and then “Utilities.” Find the “Font Book” app and open it. Click the little “+” button in the top left corner. Navigate to your downloads folder and select your .TTF file. Click “Open” and your font will be installed. Now you can choose it from the font menu in any program!
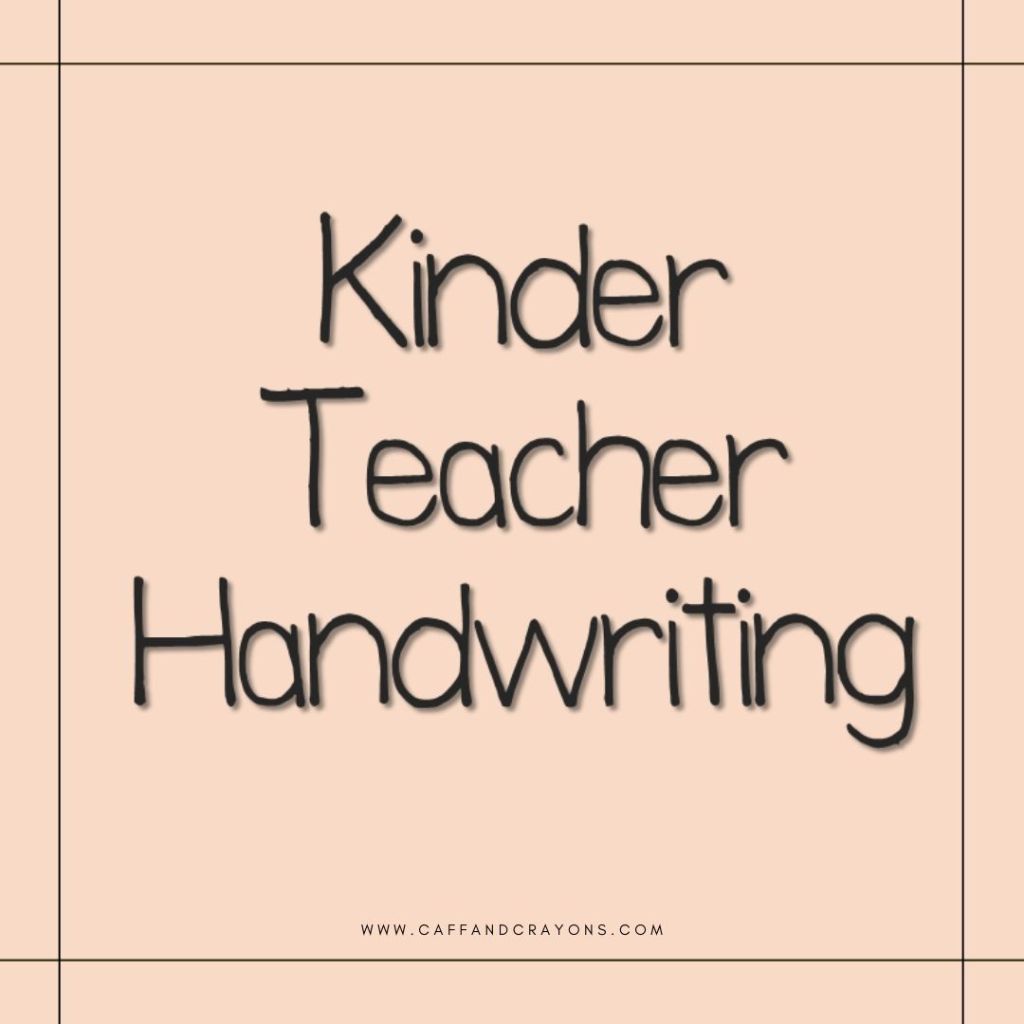
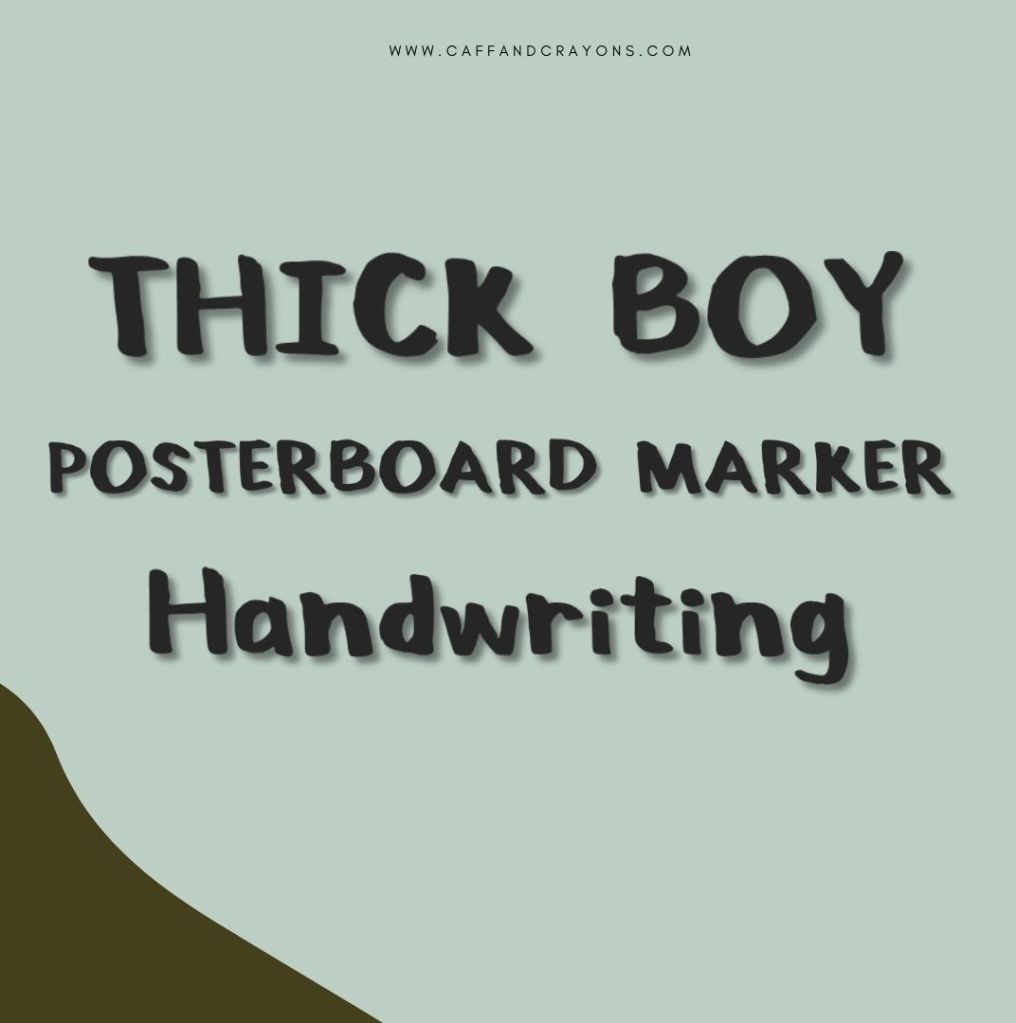
My First Fonts:
Extra Tips:
- Practice makes perfect! Warm up with some doodles before tackling your alphabet. It also took a few tries, some time, and patience to get the hang of using the website and to make a font worthy of downloading.
- Cheat a little! Look at calligraphy alphabets for letterform inspiration.
- Embrace the imperfections! A touch of hand-drawn character adds charm to your font. Don’t overedit!
- Go bold with pressure! Vary the thickness of your strokes for a dynamic look.
Calligraphr is a great starting point, but if you’re feeling ready to level up your font game, try the paid upgraded version (easier to make cursive, more options, more characters), or explore a few other programs:
- For the Tech-Savvy:
- FontForge (https://fontforge.org/en-US/): This free and open-source software is an industry standard for professional font designers. It offers a ton of power and customization, but comes with a steeper learning curve.
- For the iPad Pro Artist:
- Procreate (https://procreate.com/): This popular iPad app lets you create hand-lettered fonts using brushes and textures. While not a dedicated font design program, you can export your creations as .PNG images for further editing in Calligraphr or other software.
- For the Subscription Box Fan:
- Fontstruct (https://fontstruct.com/): This subscription-based website offers a fun and collaborative way to design fonts. Start with basic geometric shapes and build your letters block by block. It’s a great way to experiment with unique and playful fonts.
- For the Online Enthusiast:
- Glyphr Studio (https://www.glyphrstudio.com/): This web-based platform offers a user-friendly interface for creating vector fonts. It’s a good option for those who prefer a cloud-based solution and don’t want to download software.
Monetize Your Masterpieces:
Once you’ve created a font collection you love, consider sharing it with the world (and make some money, honey)!
- Teachers Pay Teachers: What teacher (especially teacher creators like myself) doesn’t love a fun font? This platform lets educators sell their digital resources, including fonts. Fonts are a pretty popular download for purchase item on this platform.
- Etsy: Sell fonts to other fellow creatives for their designs and for using with crafty machines like the Cricut.
- Products: Use your new font when designing products to sell.
Want more?
The internet is overflowing with resources to keep your font fire burning! Here are a few faves:
- Online tutorials: Find step-by-step guides on YouTube or design blogs for specific software.
- Font design courses: Feeling ambitious? Websites like Skillshare or Udemy offer in-depth courses on font creation.
- Font inspiration websites: Get inspired by browsing sites like https://www.dafont.com/ or Behance (https://www.behance.net/) to see what other creatives are designing.
Have fun! Go ahead and subscribe to my blog for more tutorials and tips!
PIN THIS FOR LATER BELOW:


Leave a comment